MarketingPublished 6 min read
How to Plan a Product Launch Video with 3D Animation
A product launch video is planned by first setting the launch date, then working backward to outline the key story beats, decide which assets each channel needs, and schedule production, review, and delivery of the master film and its cut‑downs.

Key takeaways
- Start by fixing the launch date and work backward to set milestones for concept, production, review and delivery.
- Identify the core story beats that introduce the problem, reveal the product, highlight key features and end with a clear call‑to‑action.
- Match each distribution channel with the appropriate video format, aspect ratio and length, from a master 16:9 film to social‑media cut‑downs and still renders.
- Create cut‑downs by re‑framing the master edit, adjusting pacing and adding on‑screen text or captions where needed.
- Schedule regular preview rounds, collect consolidated feedback and lock versions before moving to the next stage to avoid rework.
Planning a product launch video starts with defining the launch day and working backward to outline story beats, deliverables, and timelines. This article walks through each step: identifying the key narrative moments, scheduling production in reverse, choosing the right assets for each channel, creating effective cut‑downs, and setting up review cycles to keep the project on track.
What are the core story beats for a product launch film?
A launch film needs a clear narrative that moves the viewer from curiosity to action. Even though the product is the star, the story still follows a simple arc.
Problem or need
Open with a situation that the target audience recognizes. This can be shown with a quick shot of a messy floor, a busy hospital corridor or a retail shelf that needs restocking. The goal is to make the viewer feel the pain point within the first few seconds.
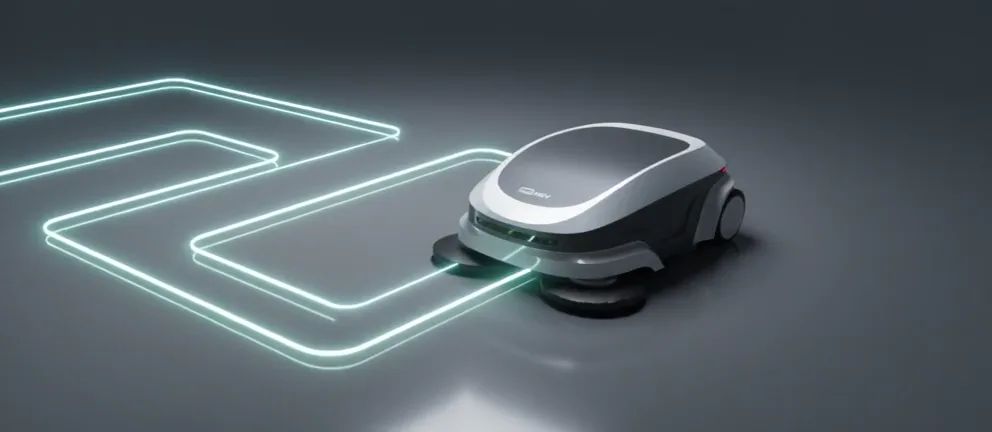
See how we approached a similar challenge in the autonomous cleaning robot project, where the opening shot highlighted the pain of manual cleaning before revealing the solution.
Product reveal
Transition to a clean, well‑lit view of the product. Slow camera moves, lighting that highlights materials and a focus on signature details build anticipation. This is the moment where the audience sees the solution for the first time.
Feature highlights
Break the product’s value into two to three concise sequences. Each sequence shows one benefit in action: the robot navigating autonomously, the service robot delivering a tray, the retail assistant interacting with a customer. Keep each highlight short enough to hold attention but long enough to convey the function.
The service robot product animation demonstrates a similar approach, focusing on one feature at a time to keep the message clear.
Call‑to‑action
End with a clear next step: a website address, a QR code, a tagline or a prompt to learn more. The visual should stay on screen long enough for the viewer to read it, and the audio can reinforce the message with a voice‑over or sound cue.
These beats can be arranged in different orders depending on the product’s complexity and the platform where the video will run, but keeping the structure simple helps the audience follow the message without confusion.
How do you schedule production backward from launch day?
Once the launch date is fixed, the production timeline is created by working in reverse. This ensures that every step finishes before the next one begins and that the final files are ready when they are needed.
Delivery deadline
Identify the exact moment when the master file must be handed over to the marketing or media team. Add a buffer for any last‑minute technical checks, such as colour‑space conversion or file‑naming verification.
Review rounds
Schedule at least two preview sessions: one after the first animation pass and another after the near‑final edit. Each review should collect feedback from all stakeholders, note required changes and lock the version before moving on.
Production phase
Estimate the time needed for modeling, material setup, lighting, animation and rendering. This phase includes the creation of the master film and any special passes such as exploded views or UI animations.
Concept and brief
Allocate time for the initial brief, concept development and storyboard or style‑frame approval. A clear brief at this stage reduces the number of revisions later.
Buffer for unexpected issues
Add a few days of flexibility for file preparation, rendering delays or additional feedback loops. If the launch date is immovable, place the buffer earlier in the schedule rather than at the end.
By laying out these milestones on a calendar, the team can see at a glance whether the project is on track and where to focus effort if a delay appears.
Which deliverables do you need for each channel?
Different distribution channels require different video formats, aspect ratios and lengths. Planning these deliverables early avoids costly re‑rendering later.
| Channel | Aspect ratio | Typical length | Use case |
|---|---|---|---|
| Website / presentation | 16:9 | 15‑30 seconds | Hero banner, looped trade‑show display |
| YouTube (horizontal) | 16:9 | 15‑30 seconds | Organic reach, ads |
| Instagram Reels / TikTok | 9:16 | 9‑15 seconds | Vertical feed, quick demo |
| YouTube Shorts | 9:16 | up to 60 seconds | Short‑form discovery |
| Facebook / LinkedIn feed | 1:1 or 4:5 | 9‑15 seconds | Square or vertical feed |
| E‑commerce thumbnail | 1:1 | Still image | Product page, zoom view |
| Press kit | 4:5 | Still image | News release, media outreach |
The master film is produced first in 16:9 at the highest resolution needed (up to 4K). All other versions are derived from this master by re‑framing and, if necessary, adjusting the edit length to match the platform’s preferred duration.
For still images that accompany the video, you can also explore the product visualization service to generate hero and lifestyle renders from the same 3D model.
How do you create cut‑downs from the master film?
Cut‑downs are not simply cropped versions; they benefit from a thoughtful edit that respects the platform’s viewing habits.
Re‑frame for aspect ratio
Open the master sequence in your editing software and change the project settings to the target aspect ratio. Re‑position the 3D camera view so the product stays centred or follows the rule of thirds. Key visual elements such as text or logos must remain inside the safe zone.
Adjust timing
Trim the edit to the target length while preserving the narrative beats. For a 9‑second social cut you might keep the problem shot, the reveal and a single feature highlight, then jump directly to the call‑to‑action. Use jump cuts or speed ramps only if they improve clarity.
Add platform‑specific elements
Social platforms often play video without sound, so consider adding subtitles or on‑screen captions that convey the message. A short audio mix with a clear voice‑over or music cue can be added for versions where sound is expected.
Export settings
Export each cut‑down with the codec and bitrate recommended by the platform (usually H.264, high profile, constant quality). Verify the file plays correctly on a mobile device before final approval.
Because the 3D scene already exists, creating these cut‑downs is far faster than reshooting the same content with a camera.
What review and approval steps keep the project on track?
A structured review process prevents surprises and ensures that the final video meets the brand’s goals.
Kickoff brief review
After the initial brief is received, the animator sends a short summary confirming the product details, goals, audience and deadline. Any missing information is clarified before concept work begins.
Concept approval
Style frames or a simple storyboard are shared. Feedback focuses on mood, lighting, camera movement and the order of story beats. Once approved, the concept becomes the reference for the entire production.
First animation pass
A low‑resolution preview (often with placeholder textures) shows the timing and camera moves. Stakeholders check that the story beats are in the right place and that the pacing feels right.
Near‑final preview
A higher‑quality preview with near‑final materials, lighting and audio is shared. This is the stage to catch any issues with colour balance, reflections or audio sync.
Final approval
After incorporating the last round of feedback, the master file is rendered at full resolution and exported in all required formats. A final checksum ensures that the files are complete and ready for delivery.
Throughout the process, feedback should be collected in a single document, version numbers should be updated after each round and any change request should be evaluated against the timeline to avoid scope creep.
Conclusion
Planning a 3D product launch video is a matter of working backward from the launch day, defining clear story beats, matching each channel with the right deliverable, creating purposeful cut‑downs and running a disciplined review process. When these steps are followed, the master film and its variations arrive on time, ready to support the launch across every touchpoint.
If you are preparing a product launch and need a 3D animation that can be adapted for the website, social media and press, explore the 3D product animation service or start a project with a brief that outlines your goals, timeline and the channels you plan to use.